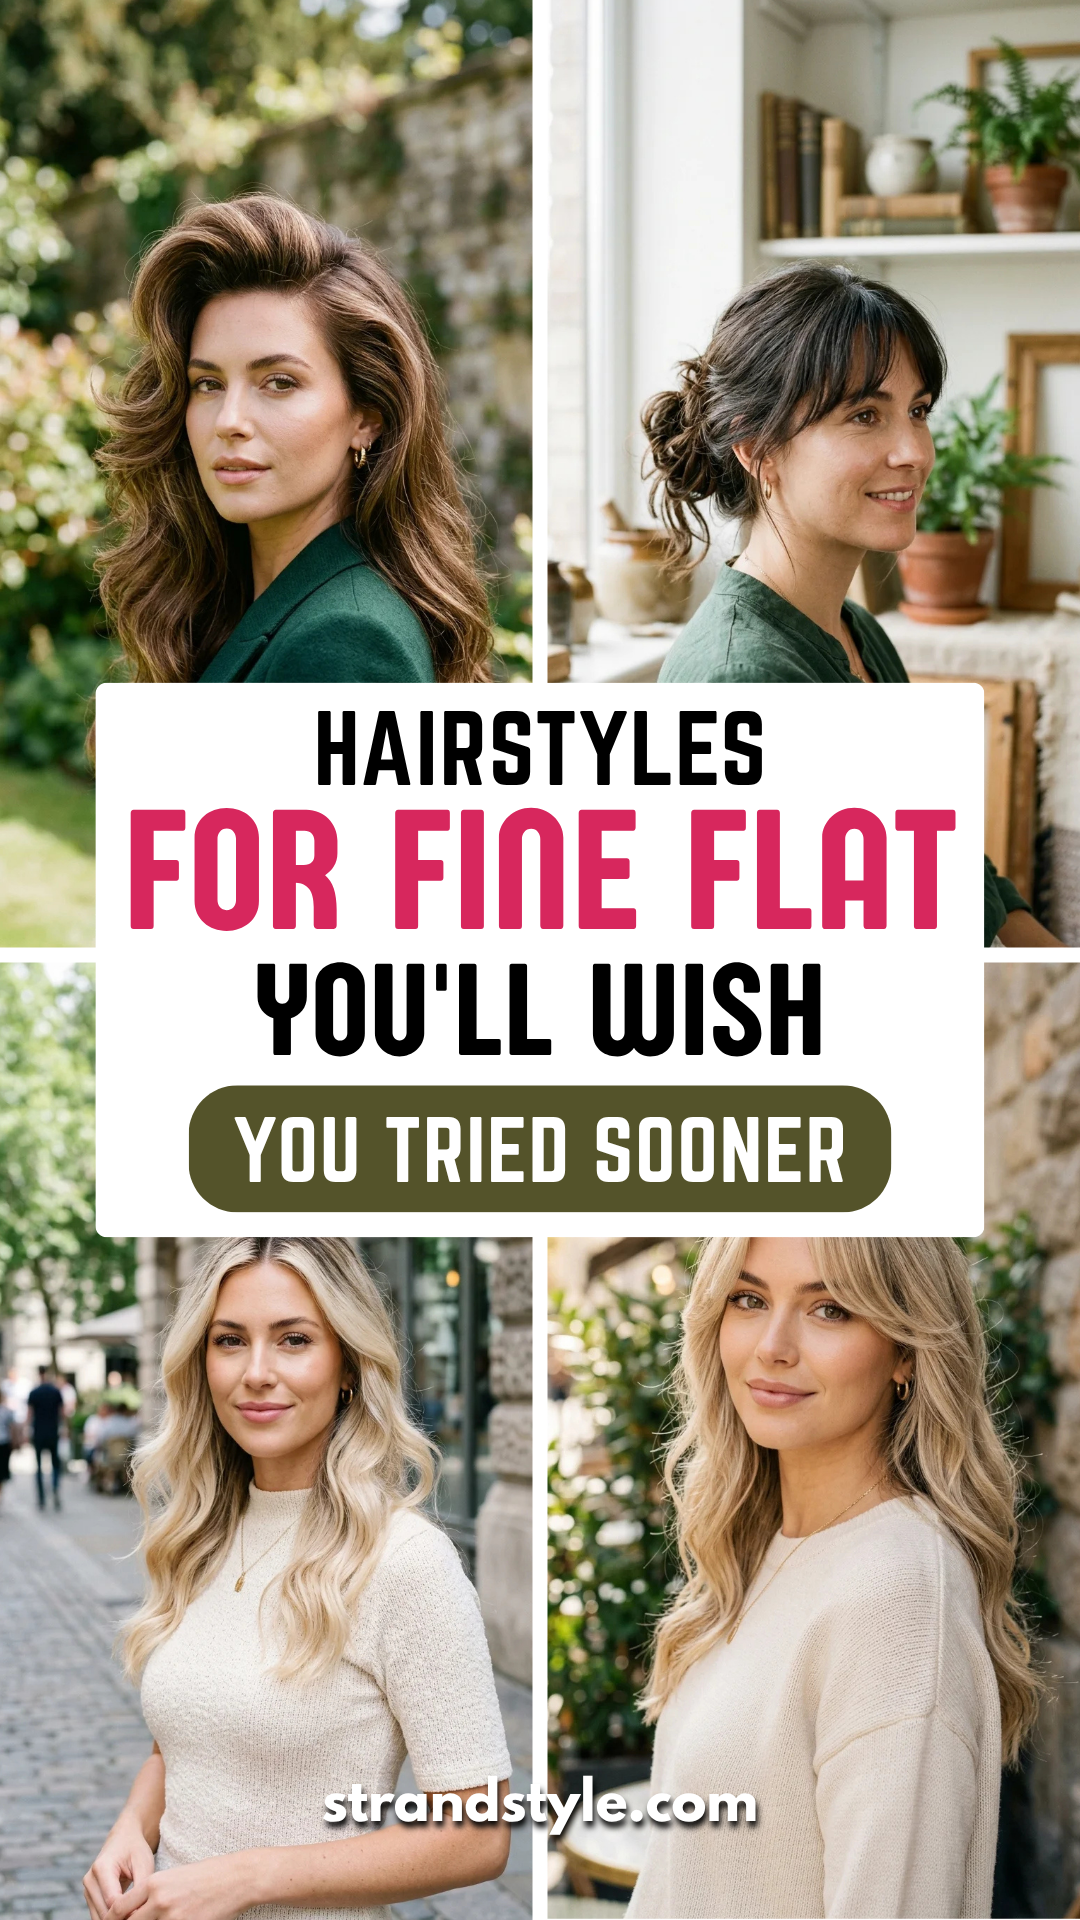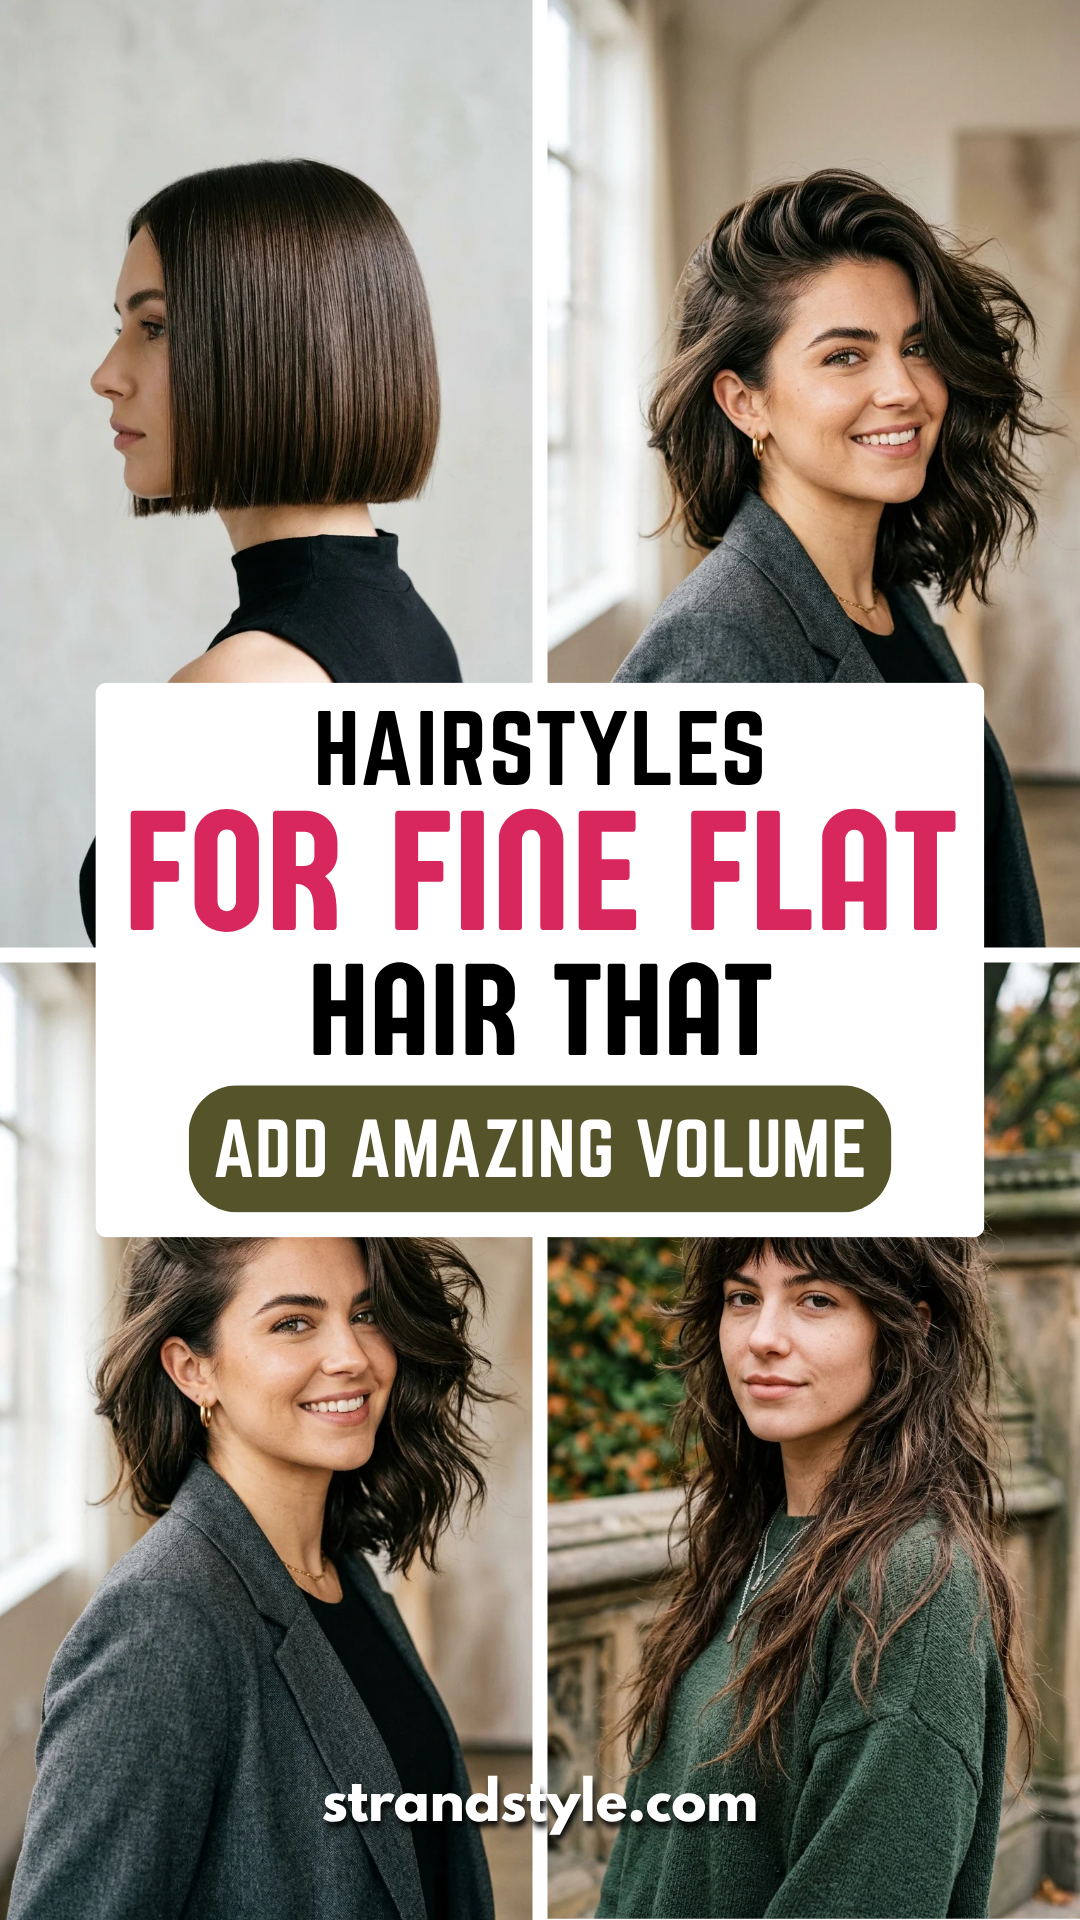
Thinning hair can be a source of frustration, but it doesn’t have to dictate your style. Whether you are dealing with age-related thinning, postpartum shedding, or genetic fine texture, the right haircut can act as a powerful optical illusion. By playing with layers, angles, and texture, you can create the appearance of a thick, healthy mane. The key is to move away from styles that weigh the hair down and embrace looks that encourage lift and movement. Here are 27 expert-approved hairstyles designed to camouflage thinning areas and boost your confidence.
1. Textured Pixie

The textured pixie is the gold standard for thinning hair. By keeping the sides short and adding choppy, uneven layers on top, you create height and volume where it matters most. The “messiness” of the texture helps to blur any visible scalp, making the hair look significantly denser than it is.
2. Blunt Bob
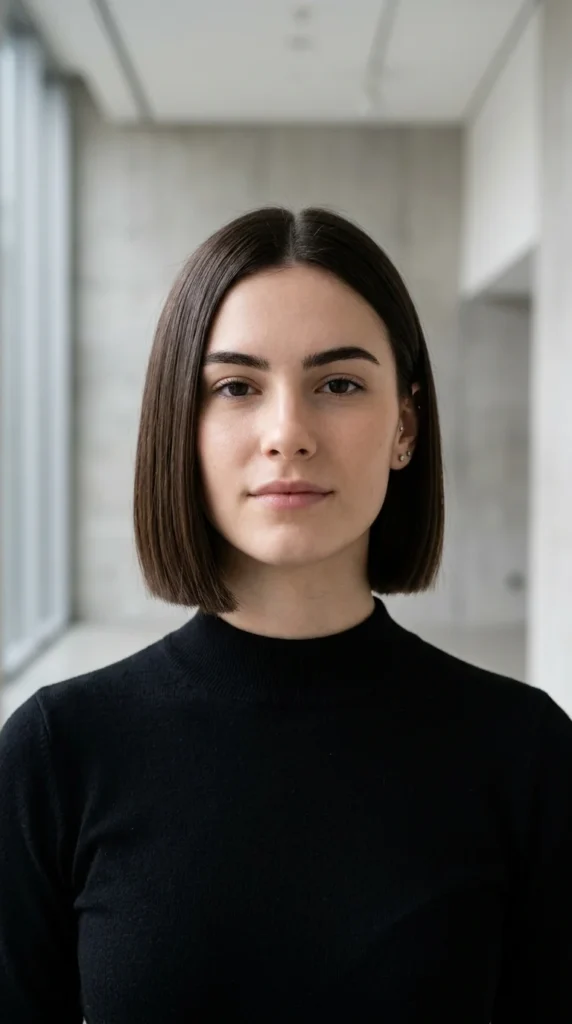
While layers are often recommended, a sharp, blunt cut at the ends can work wonders for fine hair. By removing wispy, see-through ends, the hair gains an immediate appearance of thickness and weight. This style is particularly effective for those whose hair is thinning at the bottom rather than the crown.
3. Deep Side Part
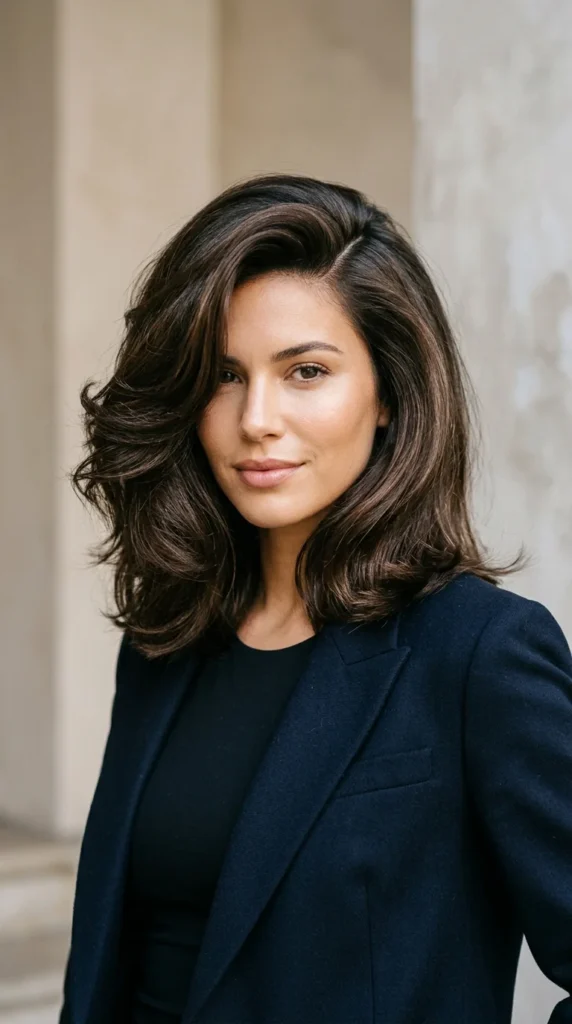
Changing your part is one of the easiest ways to hide thinning. A deep side part shifts the bulk of your hair to one side, creating instant lift at the roots. It also covers the “widow’s peak” area or a receding hairline effectively by draping hair across the forehead.
4. Choppy Lob

The “Lob” (long bob) is versatile and flattering. When cut with choppy, shattered layers, it prevents the hair from looking flat against the head. The medium length is long enough to feel feminine but short enough to maintain the structural integrity needed for volume.
5. Wispy Bangs

If you are noticing thinning around the hairline, wispy bangs are your best friend. Unlike heavy, blunt bangs which can take too much hair away from the rest of your head, wispy fringe uses very little hair to provide coverage and frame the face beautifully.
6. Shag Cut

The shag is a masterpiece of deception. It utilizes multiple layers of varying lengths to create a “cloud” of hair around the head. This chaotic texture is perfect for hiding patches where the hair might be sparser, as the eye is drawn to the movement of the layers rather than the scalp.
7. Buzz Cut
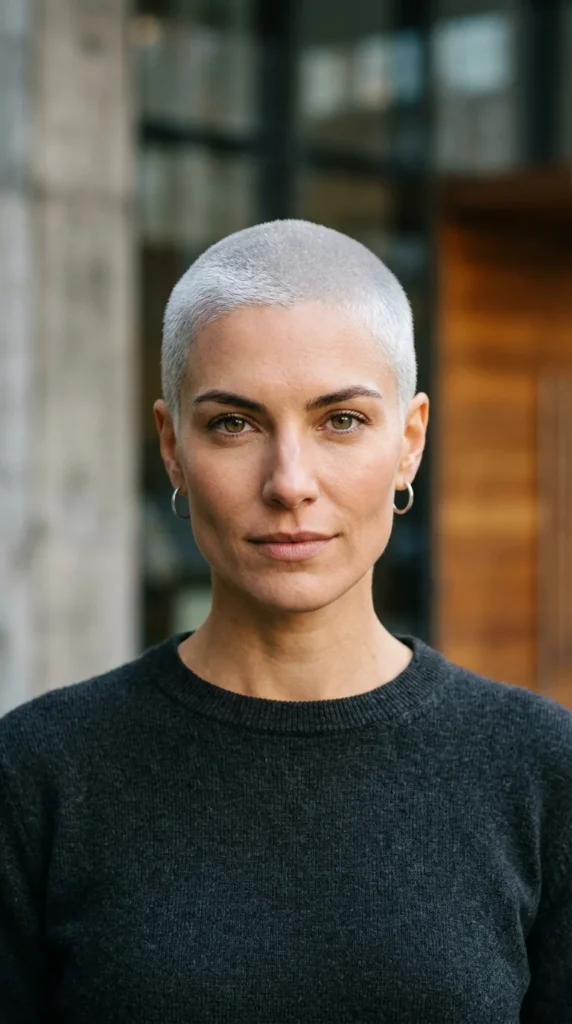
For those experiencing more significant thinning or patchy loss, a buzz cut can be a liberating and stylish choice. By removing the contrast between the hair and the thinning areas, the loss becomes much less noticeable. It’s a low-maintenance look that exudes confidence.
8. Faux Hawk
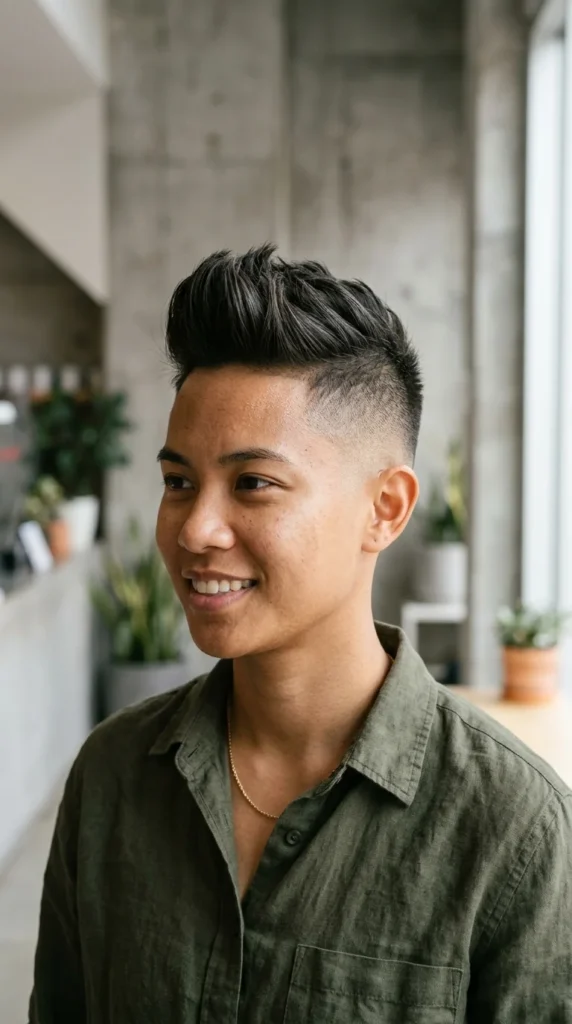
The faux hawk directs all the hair toward the center of the head. This concentration of hair creates a dense-looking “strip” that masks thinning at the crown and adds vertical height, which draws the eye upward away from the scalp.
9. Messy Updo
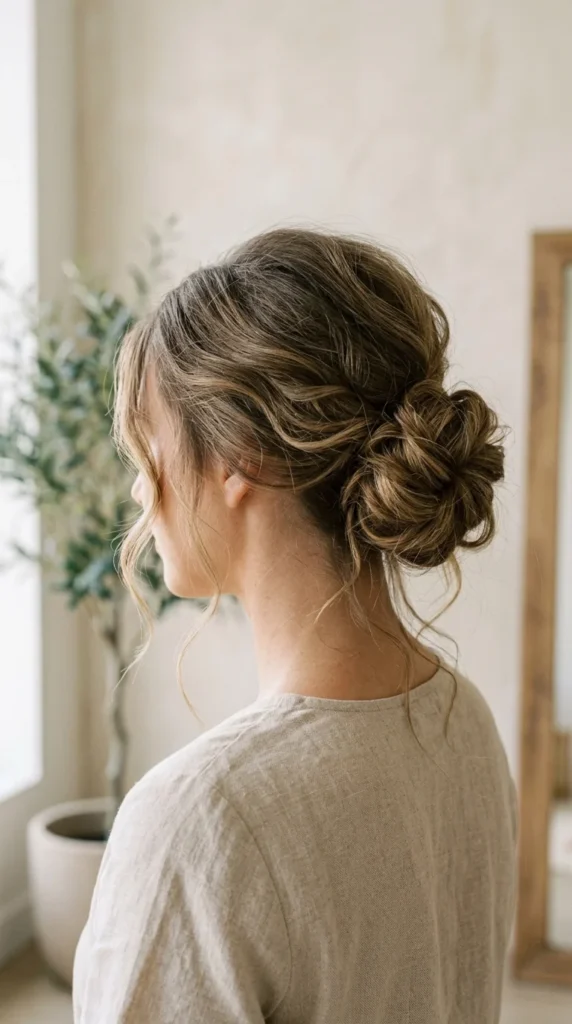
Tight ponytails can highlight thinning by pulling hair flat against the scalp. Instead, opt for a messy updo. By loosening the hair at the roots and using a “pancaking” technique (pulling sections of a bun or braid outward), you make the hair look twice as thick as it actually is.
10. Tapered Fade
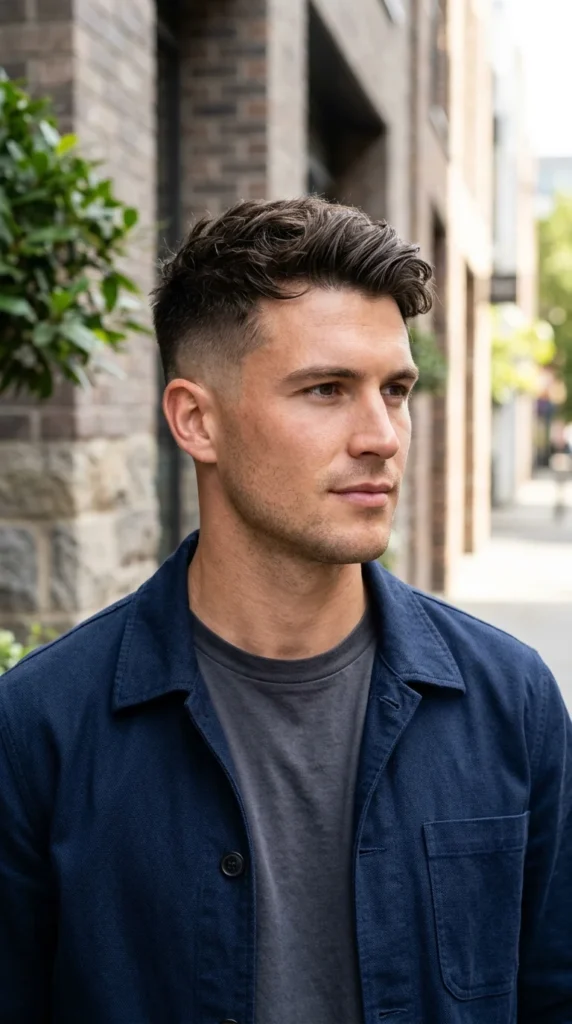
The tapered fade is excellent for men or women with short hair. By keeping the hair extremely short around the ears and neck, the hair on top naturally looks fuller and more prominent by comparison. It’s a classic technique to create a silhouette of density.
11. Side-Swept Fringe
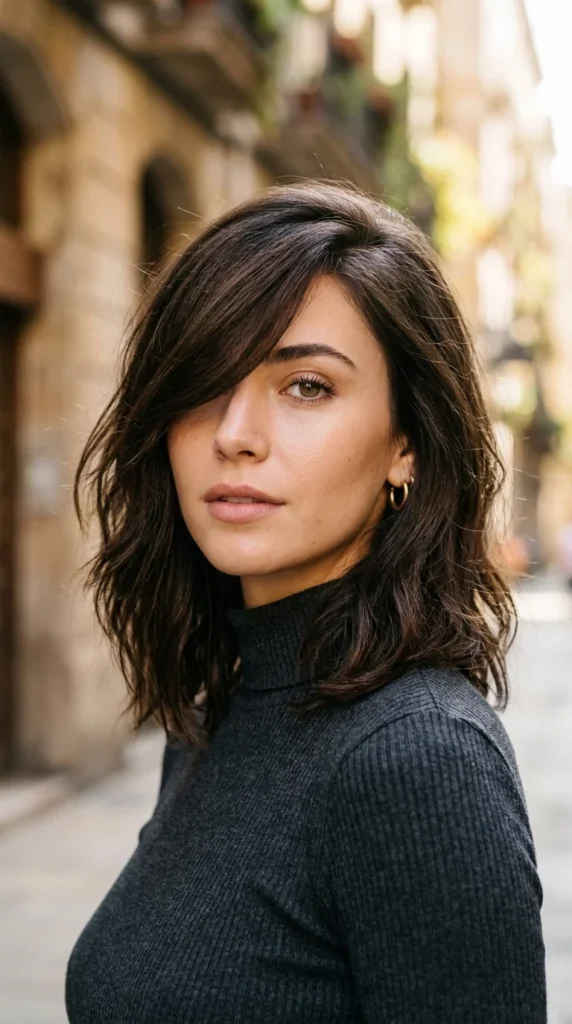
A side-swept fringe acts as a curtain for a receding hairline. Because the hair is moved horizontally across the forehead, it covers the temples where thinning is often most prominent, while also adding a touch of elegance to any length.
12. Soft Waves
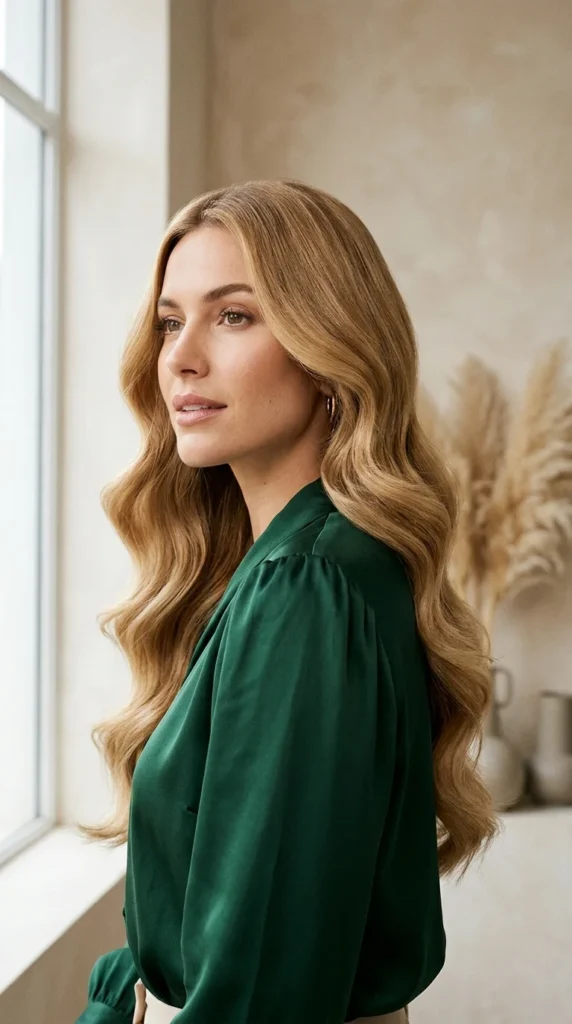
Straight hair can look “stringy” when it’s thin. Adding soft waves creates curves and shadows that make it impossible to see through the hair to the scalp. Using a large-barrel curling iron or heatless rollers can provide the body necessary for a fuller look.
13. Asymmetrical Bob
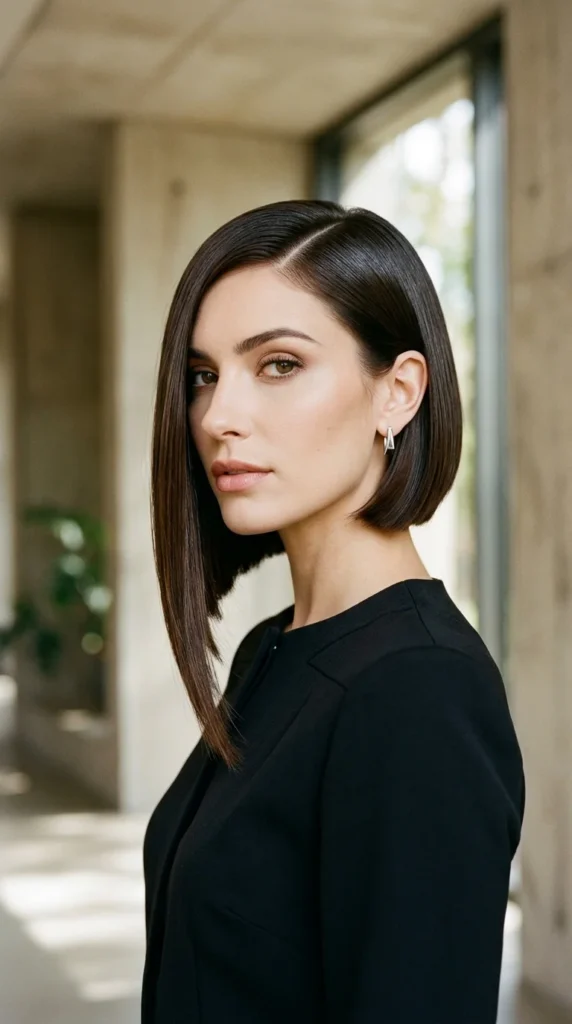
Asymmetry creates interest and movement. By having one side longer than the other, you break up the symmetry of the face and draw attention to the style’s lines rather than the hair’s thickness. The uneven weight distribution naturally creates lift on the shorter side.
14. Slicked Back
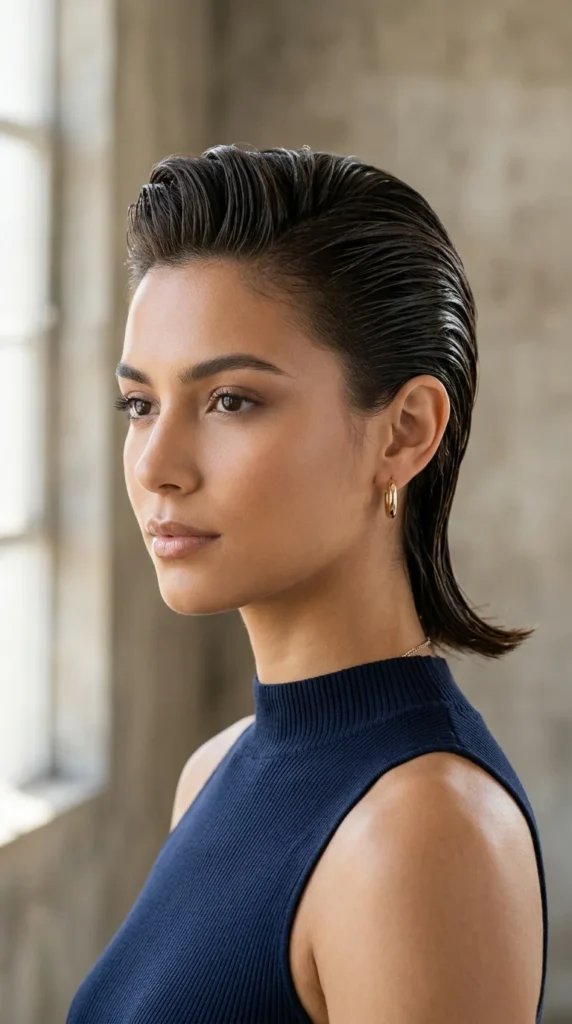
While it sounds counterintuitive, slicking the hair back with a bit of volume at the roots (a “pompadour” effect) can hide thinning at the crown. It creates a solid wall of hair that covers the back of the head, provided you use products that don’t make the hair look greasy.
15. Voluminous Ponytail
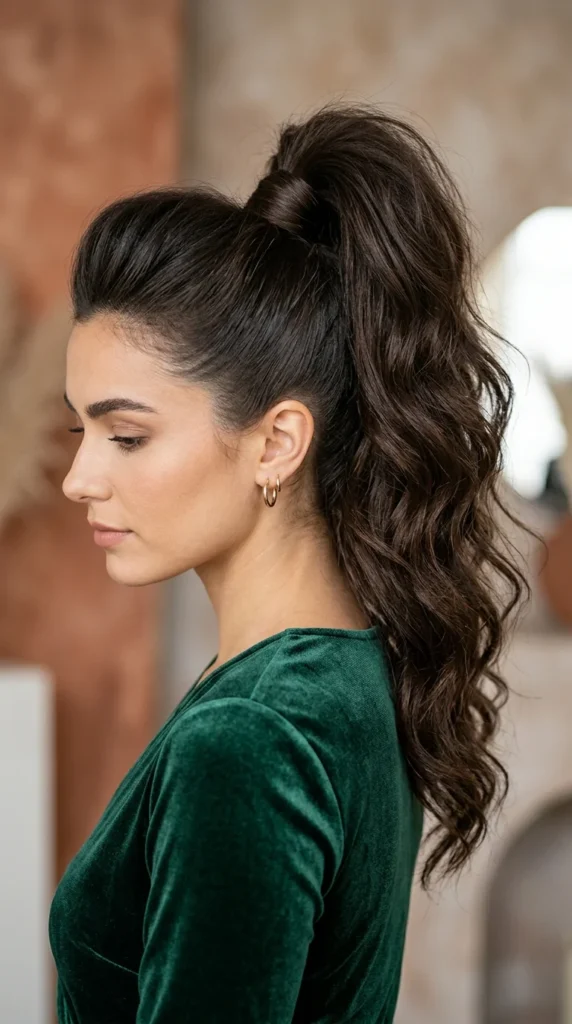
To achieve a thick ponytail with thin hair, use the “double ponytail” trick (one hidden under the other) or simply tease the base. Adding texture spray to the length of the ponytail ensures it doesn’t look like a “rat tail” and instead appears full and bouncy.
16. Curtain Bangs
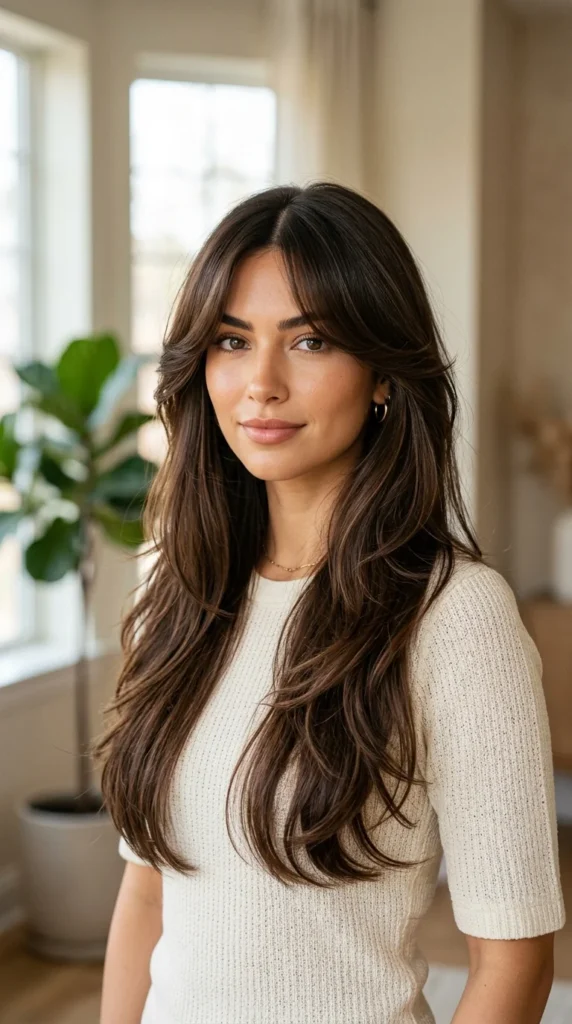
Curtain bangs are a miracle for thinning at the temples. They frame the face on both sides, providing a “frame” that obscures the hairline while adding a trendy, 70s-inspired volume to the front of the style.
17. Braided Crown
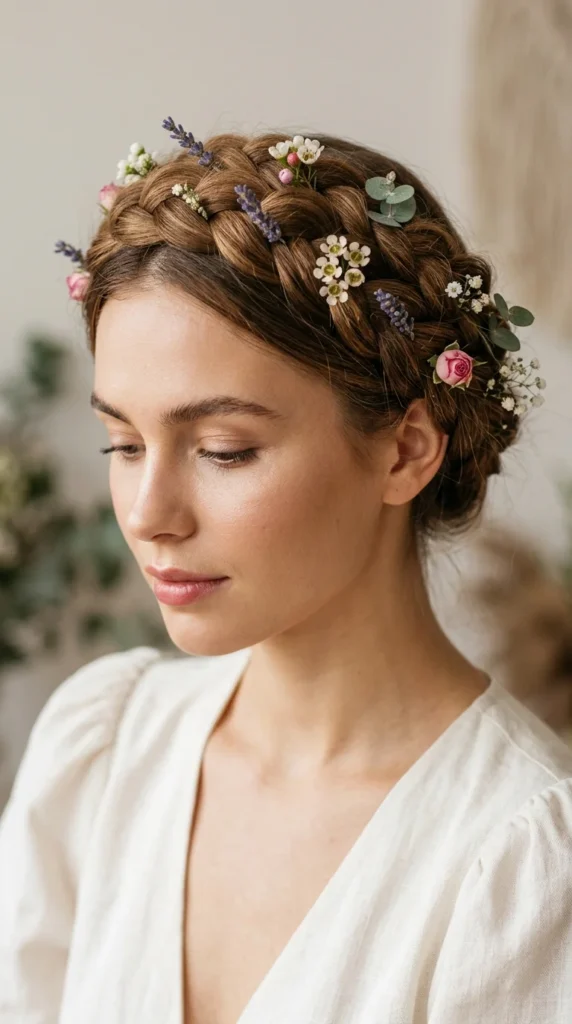
Braids are excellent for hiding the scalp because they physically bunch the hair together. A crown braid uses the hair from the sides and back to create a thick “halo” around the head, making the hair appear much more substantial than when it is left down.
18. Blunt Cut with Fringe
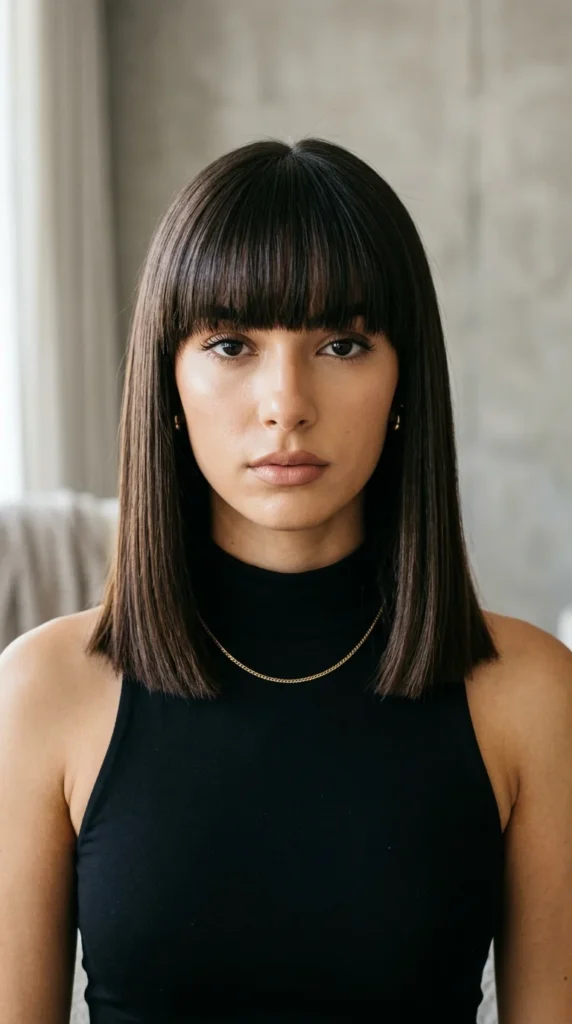
If you have enough density at the front, a heavy fringe combined with a blunt bottom cut creates two solid horizontal lines. These lines create an illusion of width and thickness, making the hair look structural and intentional.
19. Textured Crop
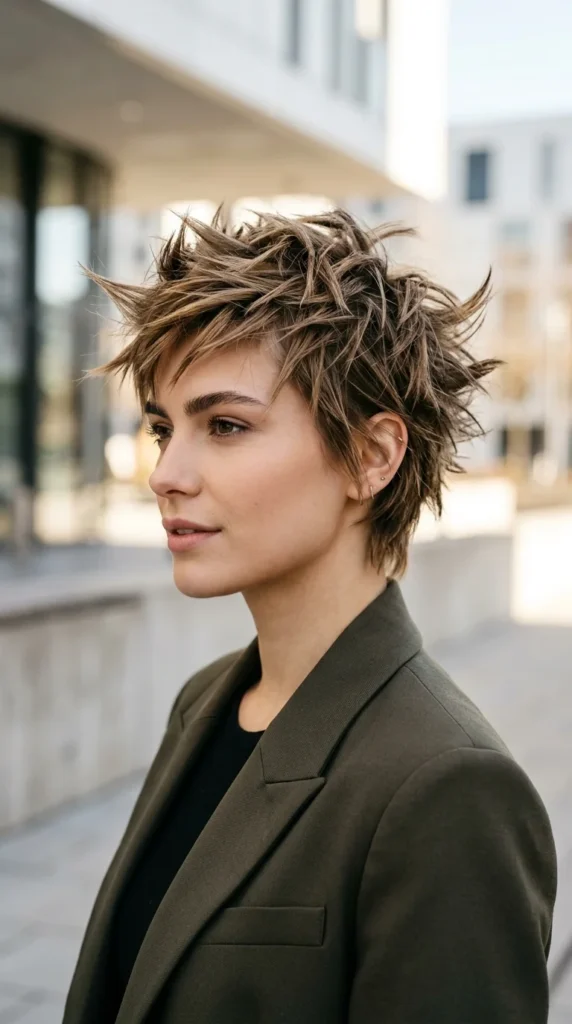
Similar to the pixie, the textured crop relies on short, jagged layers. This style is particularly good for those with curly or wavy hair, as the natural texture works with the cut to build volume without the need for heavy styling products.
20. Pompadour
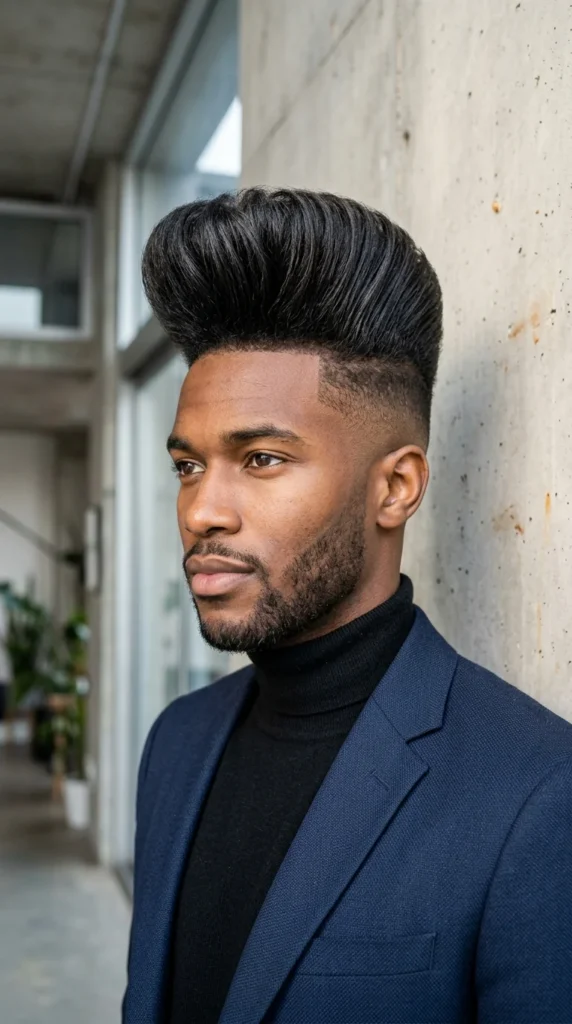
The pompadour is the ultimate volume-builder. By directing the hair upward and back, you create a large “mound” of hair that conceals the crown entirely. It’s a bold look that works for both men and women and provides a significant height boost.
21. Stacked Bob
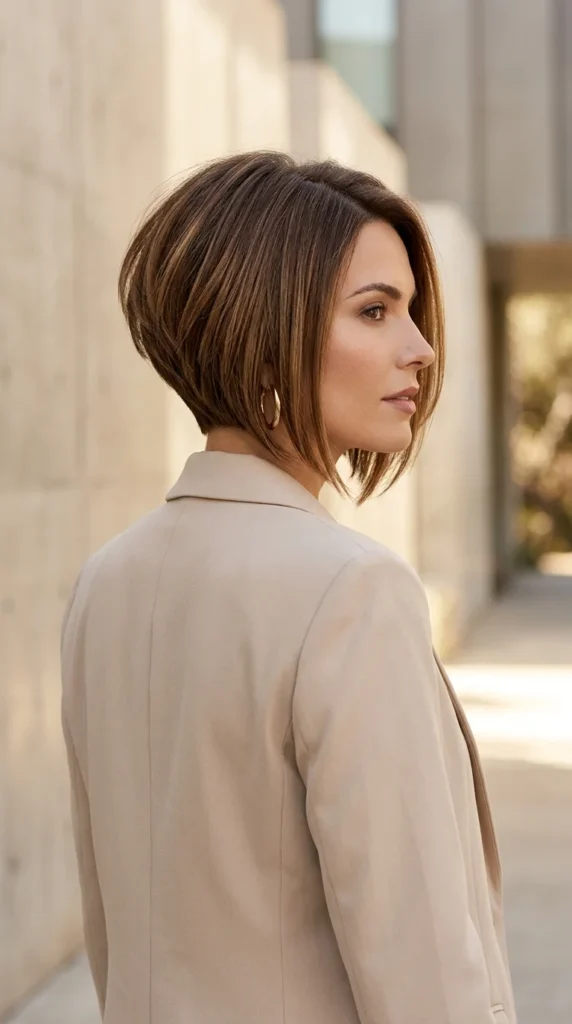
The “stacked” bob features short layers at the back of the head that literally stack on top of one another. This creates a built-in shelf of volume that won’t fall flat, giving the back of the head a rounded, full appearance.
22. Face-Framing Layers
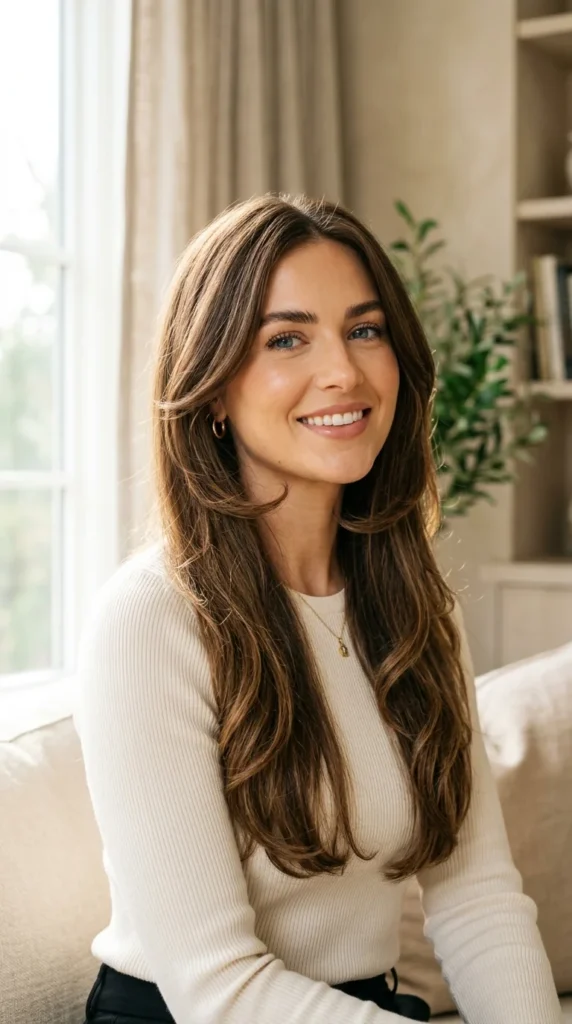
Face-framing layers (often called “money pieces” when colored) add movement around the face. By cutting shorter pieces near the front, you prevent the hair from hanging limply, which can often emphasize a thin texture.
23. Low Bun with Volume
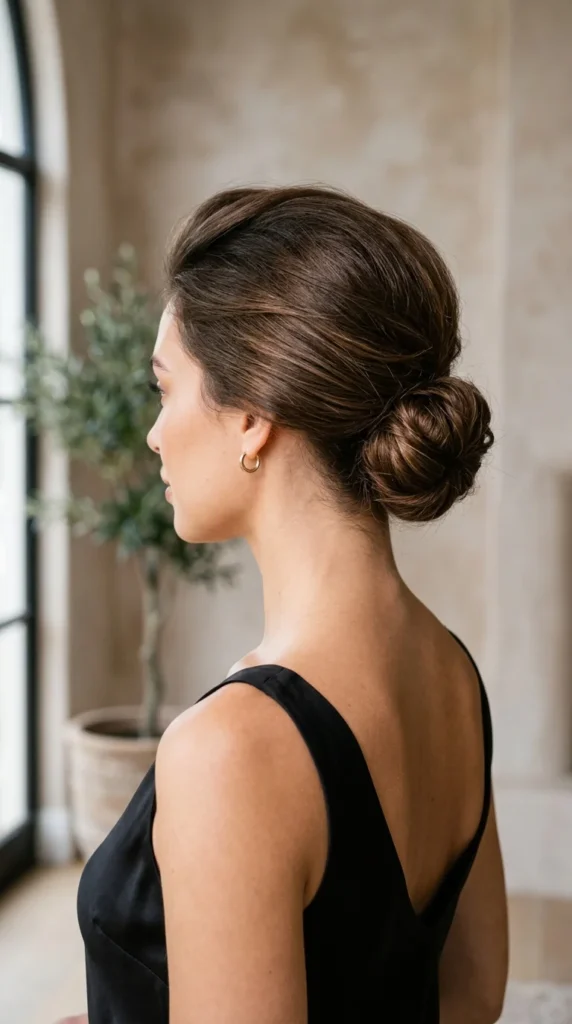
A low bun is a sophisticated way to manage thinning hair. The key is to backcomb the hair at the crown before securing the bun. This creates a “pouf” that hides thinning at the top while the bun gathers the rest of the hair into a neat, dense-looking knot.
24. Finger Waves
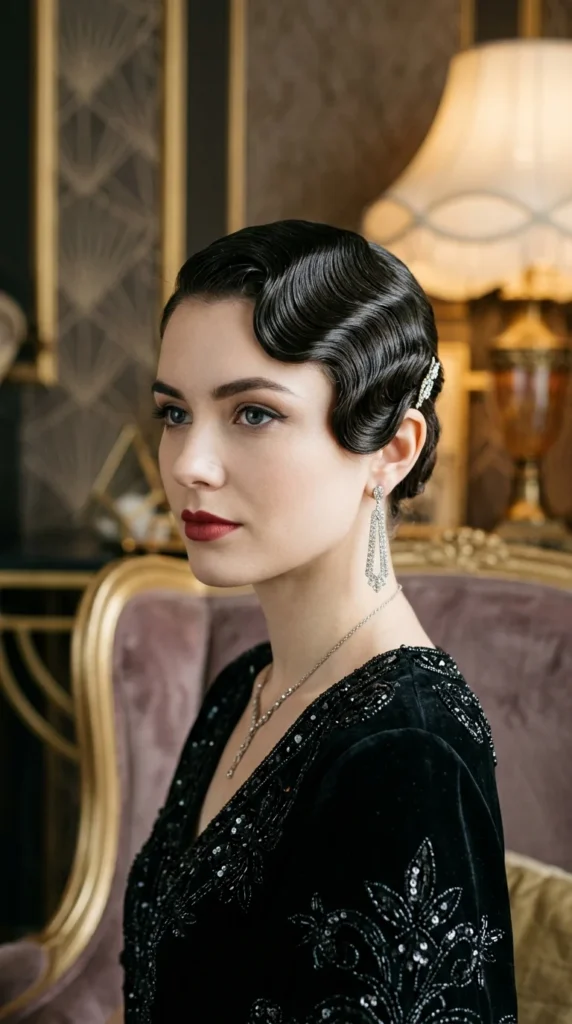
For special occasions, finger waves are a fantastic choice. The tight, rhythmic waves create a pattern that distracts from the density of the hair. Because the hair is styled in a specific, sculptural way, the focus remains on the artistry of the waves.
25. Long Layers
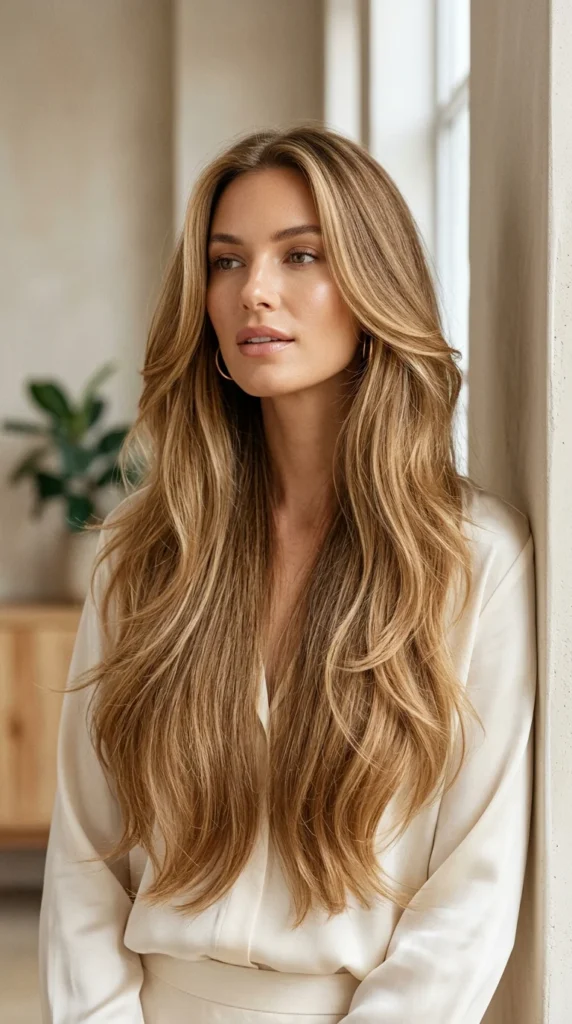
If you insist on keeping your length, ensure you have “long layers.” These are layers that start lower down. They prevent the hair from being a solid, heavy block, which can pull the hair flat against the scalp and expose thinning areas.
26. Half-Up Top Knot
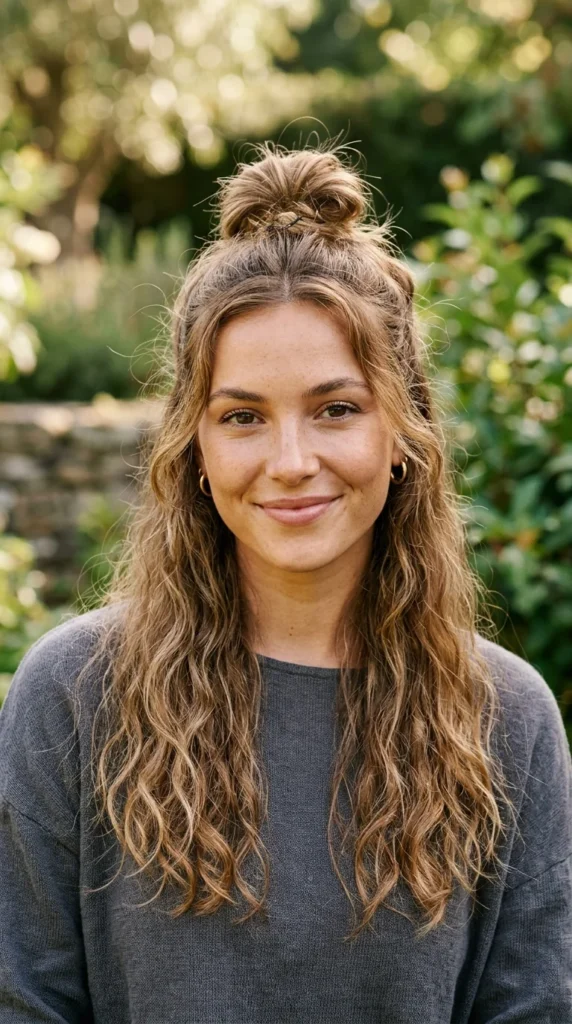
The half-up top knot is perfect for disguising thinning at the very top of the head. By gathering that specific section into a bun, you hide the “problem area” while letting the rest of your hair flow, giving the impression of a full head of hair.
27. Gray Blending
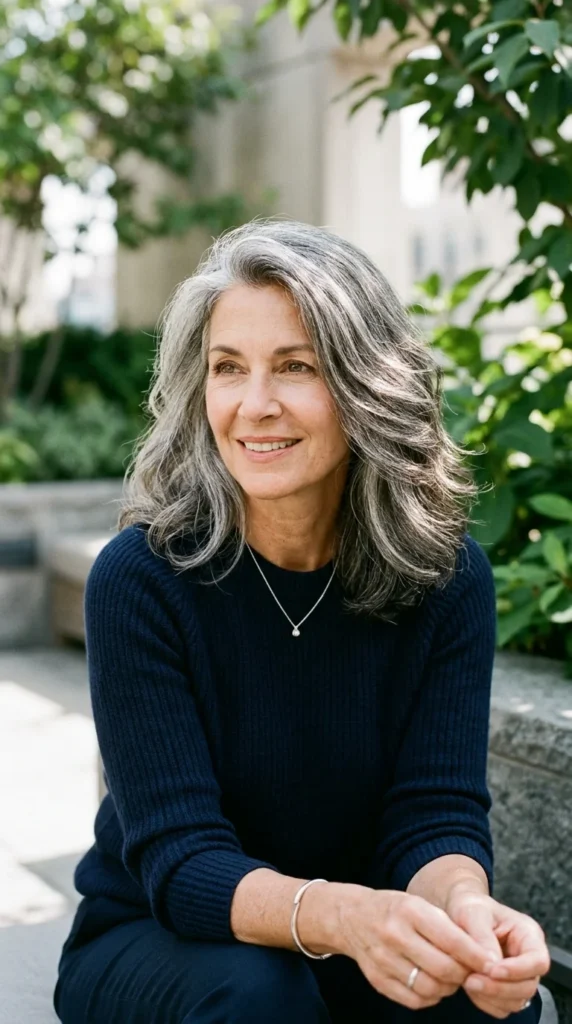
While not a “cut,” the way you color your hair impacts how thin it looks. Gray hair often has a coarser texture, which can actually help with volume. By blending grays rather than covering them with a solid dark color, you reduce the contrast between the hair and the scalp, making thinning much less obvious.